Investing in your RV is a great way to extend its life and give you more freedom and flexibility to travel as well! Updates and maintenance can add up, but taking care of the ‘little things’ before they become the big things is key to avoiding irreparable damage. Checking your RV roof sealant is one of those little things that, if left unnoticed or untreated, could cause you a headache in the long run.
Next time your RV is due for a roof sealant replacement, there’s no need to worry about a complicated, drawn-out process. There are three steps that go into taking care of your new sealant job to guarantee it will be long-lasting:
- Preparing the surface by removing dirt and debris
- Applying the sealant concisely
- Inspecting and maintaining the sealant regularly
Preparing the Surface For Sealant
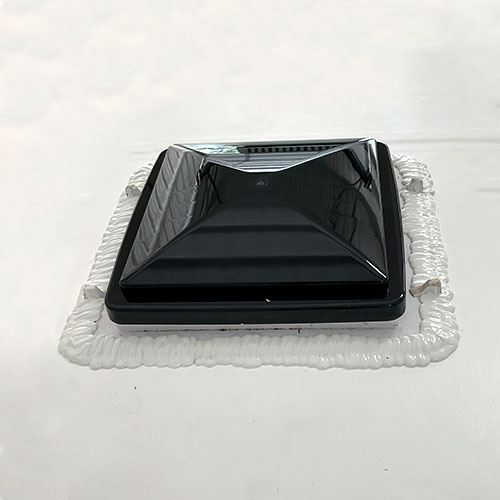
Before applying the new sealant, it is important to make sure the old sealant has been completely removed. Whether it’s cracked, crusty or bits and pieces of sealant have fallen off, you want to be sure the area is free from any remnants, dirt or other debris before applying the new sealant. You can remove old sealant by using a sealant remover or solvent, to soften it up and scrape it away. Once the space is clear and dry, it’s time to apply the new sealant!
If the sealant was cracked or missing, it should be repaired or replaced as soon as possible to prevent leaks. Check around any of these areas to make sure there is no water damage below the surface that might not be readily apparent.
Applying The Sealant
The sealant application process in and of itself is a fairly straightforward one. Professional RV repair shops generally follow these steps to get a perfect seal each and every time:
- Prep the surface for sealing
- Mix the sealant according to the manufacturer’s instructions. Be sure to use the appropriate ratio of sealant to hardener
- Apply sealant to the specified area, making sure to go slow enough to prevent air bubbles from forming
Allow the sealant to dry completely before using your RV again to guarantee that the sealant has had a chance to solidify. RV sealant should be checked about every 6 months or after every big trip to diagnose any new damage and prevent any leakage or water threats to your rig.